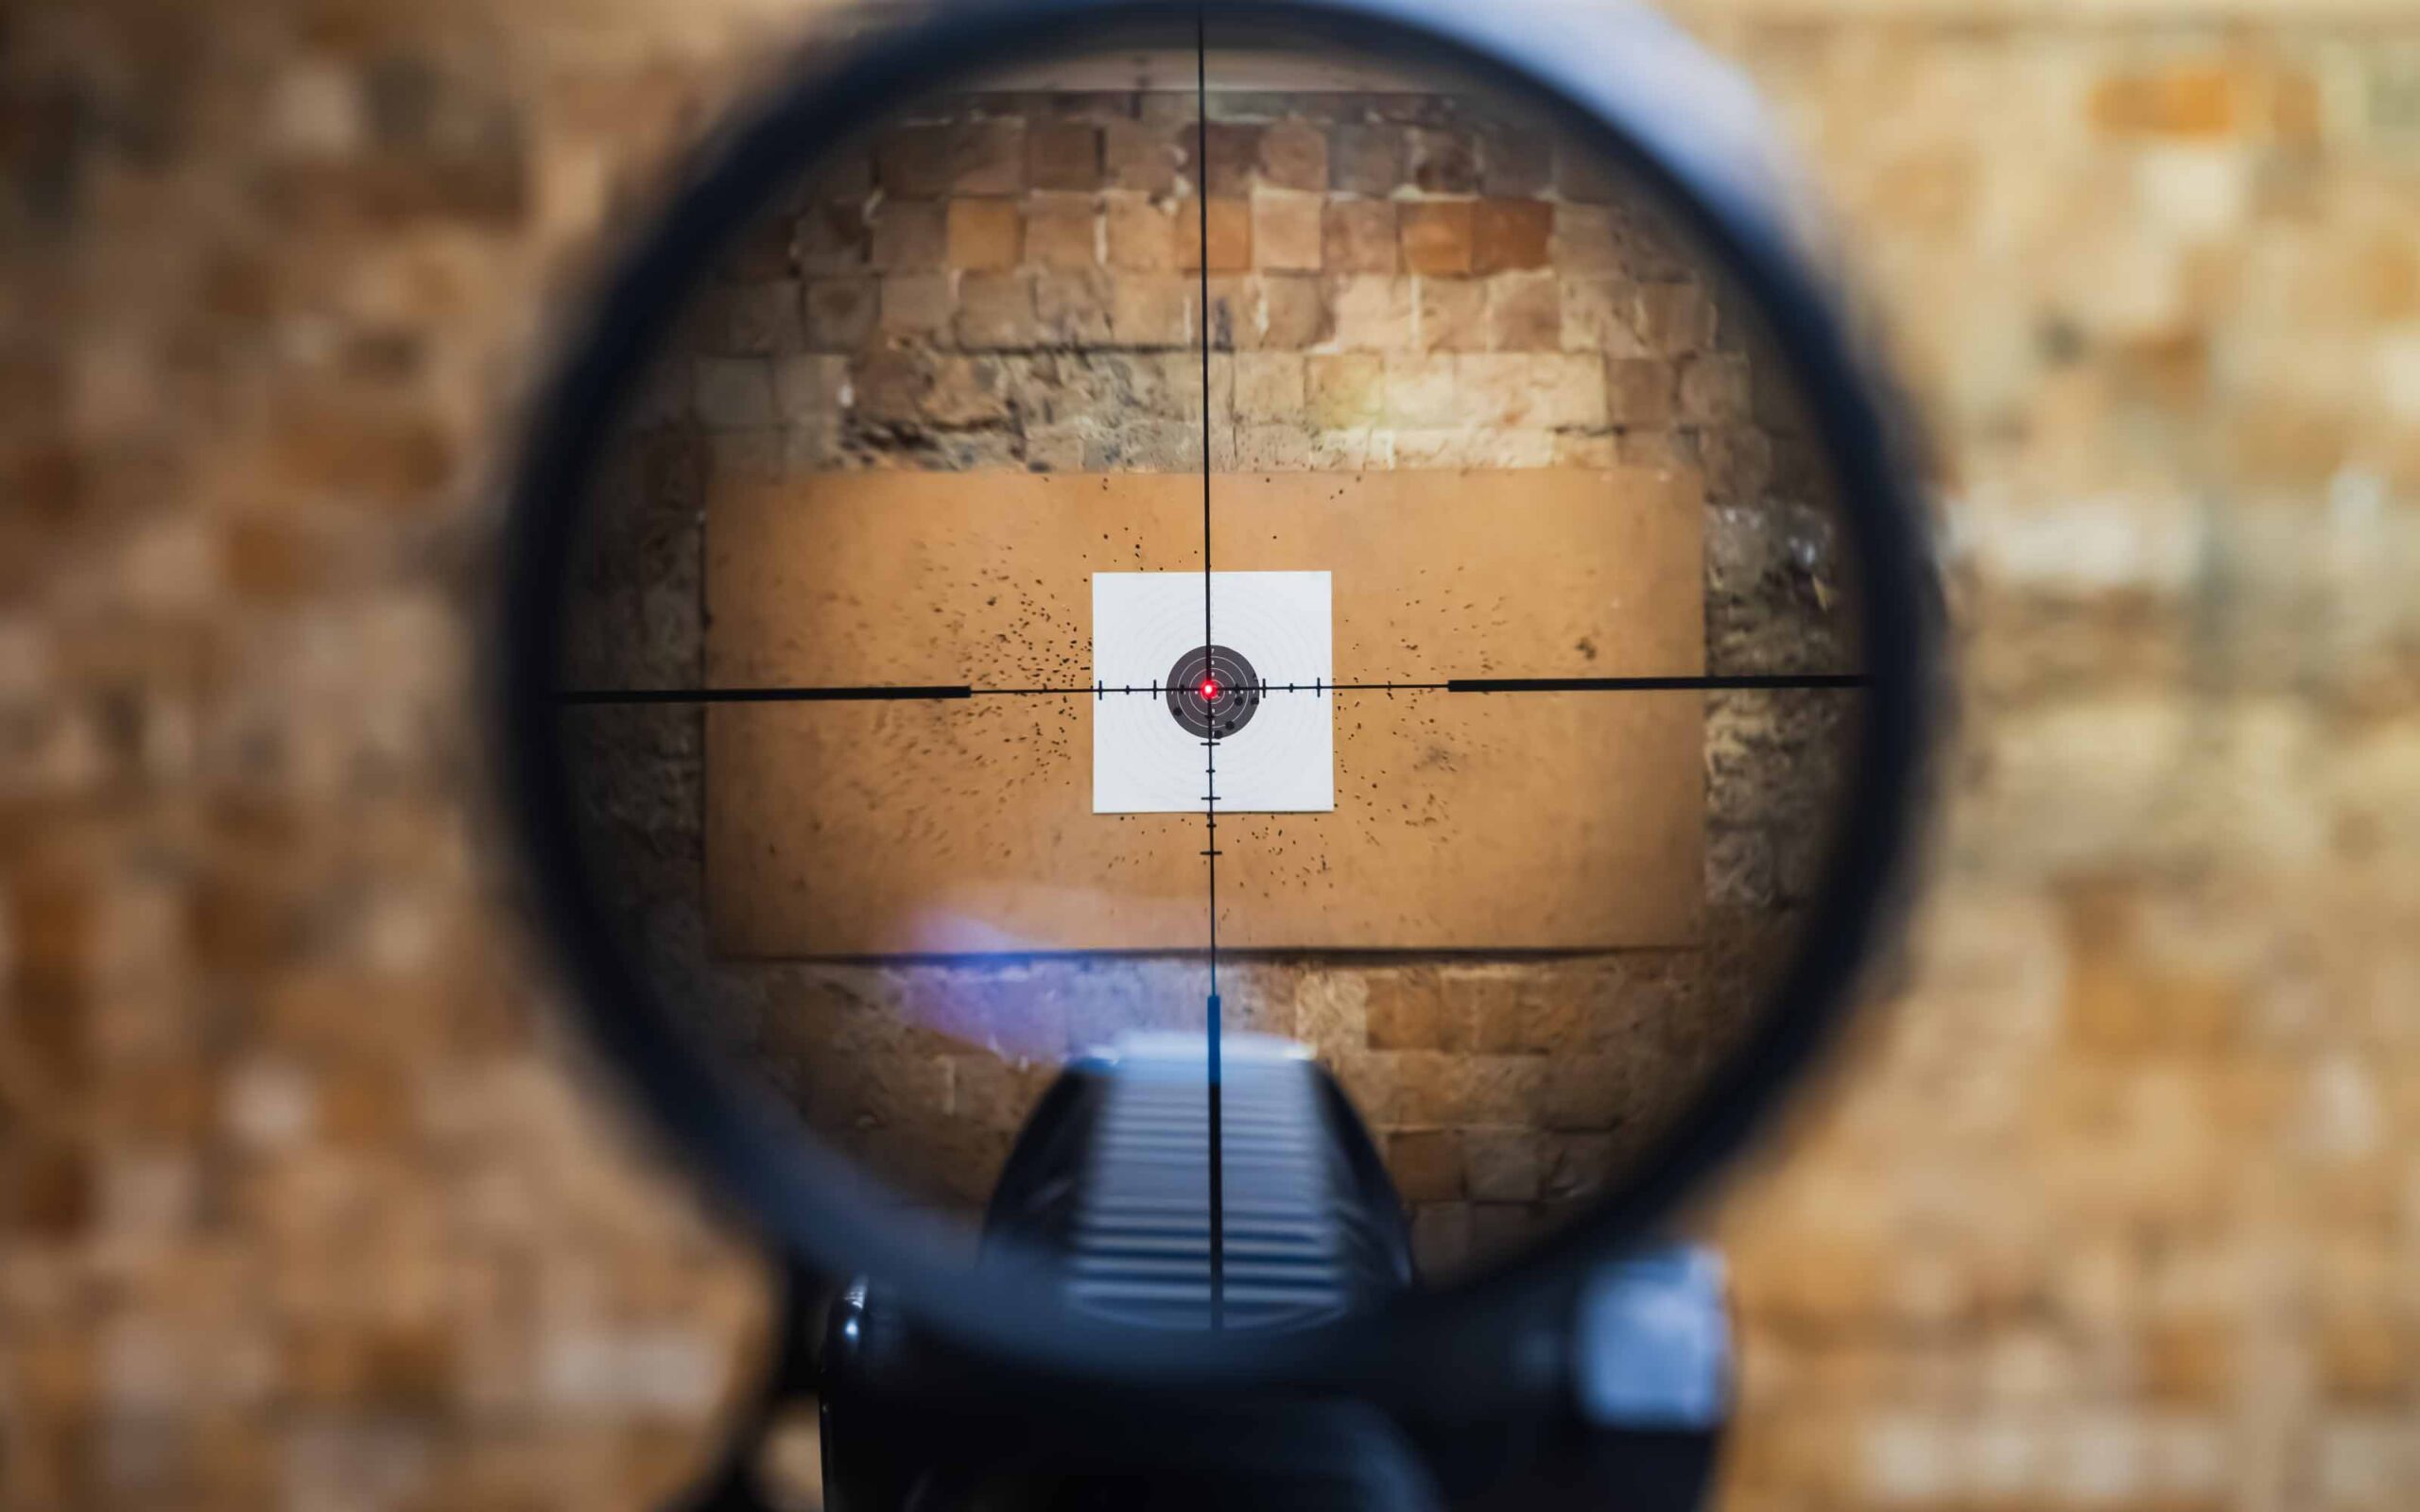
A properly mounted scope can make the difference between frustrating misses and consistent accuracy. Even a high-quality optic cannot perform at its best if it is installed incorrectly or zeroed improperly. Taking the time to mount and zero your scope correctly helps you get the most from your PCP air rifle, whether you are target shooting, practicing at the range, or hunting where permitted by law.
Many shooters focus on buying premium optics but overlook proper installation. Small mistakes, such as uneven scope rings, incorrect eye relief, or loose mounting screws, can cause a shifting point of impact and inconsistent groups. Fortunately, these issues are easy to avoid with the right approach.
This step-by-step guide explains how to mount a rifle scope correctly, establish a reliable zero, avoid common mistakes, and maintain long-term accuracy.
Quick Answers for Scope Mounting and Zeroing Basics
How do you mount a scope on a PCP air rifle?
Mount the correct scope rings securely to the rifle, position the scope for proper eye relief, level the reticle, and tighten the screws to the manufacturer’s recommended torque specification.
What distance should you zero a PCP air rifle?
Most shooters zero a PCP air rifle between 25 and 50 yards, depending on pellet choice, intended use, and shooting style.
Why does a rifle scope lose zero?
Loose mounting screws, poor-quality rings, changing pellet types, accidental impacts, and improper installation are common reasons a scope loses zero.
Do different pellets affect accuracy?
Yes. Different pellet weights and designs produce different velocities and trajectories, which can shift your point of impact.
Should you recheck your zero?
Yes. Always verify your zero after changing optics, switching pellets, replacing mounts, transporting the rifle, or noticing changes in accuracy.
Why Does Proper Scope Mounting Matter?
Mounting a scope is about much more than attaching an optic to your rifle. Proper installation ensures the scope stays aligned with the barrel, maintains its zero, and provides a clear sight picture every time you shoot.
When a scope is mounted correctly, you benefit from:
- Improved shot consistency
- Improved long-range accuracy
- Reduced scope movement
- More comfortable shooting position
- Greater confidence during every shot
Poor mounting can lead to unnecessary frustration. Even a slight shift in the scope can cause noticeable changes in where pellets strike the target.
What Equipment Do You Need?
Having the right tools before you begin helps ensure a professional-quality installation.
| Equipment | Purpose |
|---|---|
| Rifle scope | Provides aiming precision |
| Scope rings | Secure the optic to the rifle |
| Torque screwdriver | Prevents over-tightening |
| Bubble level | Levels the reticle |
| Gun vise or shooting rest | Stabilizes the rifle |
| Targets | Used during zeroing |
| Quality pellets | Ensures consistent results |
Using inexpensive or poorly fitting scope rings often causes more problems than the scope itself. Quality mounting hardware helps maintain zero over thousands of shots.
How Do You Choose the Right Scope Rings?
One of the most overlooked steps is selecting compatible scope rings.
Before purchasing rings, verify:
- Rail compatibility
- Scope tube diameter
- Appropriate ring height
- Adequate clearance for the objective lens
- Secure clamping system
The objective lens should clear the barrel while allowing the scope to sit as low as possible. Lower-mounted optics generally provide a more natural shooting position and improve consistency.
Step 1: Make Sure the Air Rifle Is Safe
Before working on your rifle:
- Remove the magazine if applicable.
- Confirm the rifle is unloaded.
- Point the muzzle in a safe direction.
- Remove any pellet from the chamber.
- Engage the safety if your rifle includes one.
Place the rifle securely in a gun vise or stable shooting rest before beginning installation.
A stable platform makes every adjustment easier and more precise.
Step 2: Install the Scope Rings Correctly
Attach the lower halves of the scope rings to the rifle’s rail.
Do not fully tighten the rings immediately. Leave enough movement to make small positioning adjustments later.
When positioning the rings:
- Space them evenly.
- Avoid placing them against curved sections of the scope tube.
- Ensure both rings sit squarely on the rail.
- Verify the mounting screws engage evenly.
Proper ring alignment reduces unnecessary stress on the optic.
Step 3: Position the Scope for Proper Eye Relief
Place the scope into the lower ring halves.
Shoulder the rifle naturally while looking through the optic.
Move the scope forward or backward until you achieve a full field of view without dark shadows around the edges.
Proper eye relief helps:
- Improve shooting comfort
- Speed target acquisition
- Prevent scope movement from affecting sight picture
- Maintain consistent head position
Eye relief should feel comfortable in your normal shooting position, not one that feels forced.
Step 4: Level the Reticle
A level reticle is critical for accurate shooting, especially at longer distances.
Use a bubble level or scope leveling kit to ensure both the rifle and scope are perfectly level.
Rotate the scope until the vertical crosshair aligns with gravity.
Even a slight cant can cause horizontal impact shifts that become more noticeable as shooting distance increases.
Taking a few extra minutes during installation prevents ongoing accuracy issues later.
Step 5: Tighten the Scope Rings Properly
Install the upper ring halves and begin tightening each screw gradually.
Instead of tightening one screw completely, alternate between screws using an X-shaped pattern.
This evenly distributes pressure across the scope tube.
Always tighten screws according to the manufacturer’s recommended torque specifications.
Over-tightening may:
- Damage the scope tube
- Affect internal optics
- Void the manufacturer’s warranty
Under-tightening allows the scope to move during shooting, causing your zero to shift unexpectedly.
Why Is Torque So Important?
Many shooters believe tighter screws equal a stronger mount. In reality, excessive torque is one of the most common causes of damaged scopes.
Using a torque screwdriver provides consistent pressure across every mounting screw.
Benefits include:
- Even clamping force
- Reduced risk of tube damage
- Better long-term reliability
- Improved zero retention
Professional gunsmiths rely on torque specifications because even small differences can affect scope performance.
Step 6: Perform a Preliminary Alignment
Although many PCP air rifles cannot be bore-sighted in the same manner as traditional firearms, you can still perform a rough alignment before firing.
Place a target at approximately 10 yards.
Visually align the rifle with the target while making minor scope adjustments until the reticle appears close to the expected point of impact.
This simple step saves time, reduces wasted pellets, and speeds up the zeroing process.
What Is the Best Distance to Start Zeroing?
Start close.
Many experienced shooters begin at 10 to 15 yards before moving farther downrange.
This makes it much easier to keep shots on paper and determine whether your scope requires major adjustments.
Once your groups begin landing near the center of the target, you can move to your preferred zero distance.
Starting too far away often results in missed targets and unnecessary adjustments.
Step 7: Fire Your First Shot Group
Once the scope is roughly aligned, place a target at 10 to 15 yards and fire a three-shot group using the same pellet you intend to shoot regularly.
Focus on consistent shooting fundamentals:
- Use a stable shooting rest.
- Maintain the same cheek weld for every shot.
- Squeeze the trigger smoothly.
- Allow the rifle to settle naturally after each shot.
Avoid adjusting the scope after every shot. Instead, evaluate the center of the entire group before making corrections.
Step 8: Adjust Windage and Elevation
Use the scope’s adjustment turrets to move the point of impact toward the center of the target.
Remember:
- Elevation adjusts shots up and down.
- Windage adjusts shots left and right.
Most scopes adjust in small increments, so make only the recommended number of clicks between groups. After each adjustment, fire another three-shot group to confirm the change.
Making gradual corrections produces a more accurate and repeatable zero than chasing individual shots.
Step 9: Move to Your Final Zero Distance
After your shots consistently hit near the center at close range, move your target to your preferred zero distance.
While every shooter has different preferences, these distances are commonly used:
| Zero Distance | Best For |
|---|---|
| 20 yards | Indoor ranges, close-range pest control where legal |
| 25 yards | General target shooting |
| 30 yards | Balanced all-around performance |
| 40 yards | Mixed-distance shooting |
| 50 yards | Longer-range precision shooting |
There is no single “best” zero. The ideal distance depends on your shooting style, pellet choice, and the typical distances at which you shoot.
How Does Pellet Choice Affect Your Zero?
One of the biggest mistakes shooters make is zeroing with one pellet and then switching to another.
Even pellets with the same caliber can produce different results because they vary in:
- Weight
- Shape
- Velocity
- Ballistic coefficient
- Manufacturing consistency
These differences affect pellet trajectory and point of impact.
Once you find a pellet that delivers consistent groups, complete your zero using that pellet and continue using it whenever accuracy is important.
Why Does Scope Parallax Matter?
Many new shooters overlook parallax, yet it can significantly affect accuracy.
Parallax occurs when the reticle appears to move across the target as your eye changes position behind the scope.
If your air rifle scope includes an adjustable objective or side-focus knob, set the parallax for the distance you are shooting before zeroing.
Proper parallax adjustment provides:
- Sharper target focus
- More consistent aiming
- Reduced aiming error
- Better precision at longer distances
Correcting parallax is especially important for PCP air rifles because they are often used at varying distances.
What Are the Most Common Scope Mounting Mistakes?
Even experienced shooters occasionally make mistakes during installation.
Avoid these common problems:
- Mounting the scope too high
- Over-tightening screws
- Under-tightening screws
- Uneven ring pressure
- Failing to level the reticle
- Using incompatible scope rings
- Changing pellets after zeroing
- Making adjustments after every shot
- Skipping torque specifications
Taking a few extra minutes during installation often prevents hours of frustration at the range.
How Can You Keep Your Scope Zeroed?
A properly mounted scope should maintain its zero for a long time, but routine checks are still important.
Verify your zero if you:
- Transport the rifle frequently
- Install new scope rings
- Replace your optic
- Switch pellet brands
- Notice changes in accuracy
- Accidentally bump or drop the rifle
A quick confirmation group before each shooting session provides confidence that your setup remains accurate.
Should You Recheck Mounting Hardware?
Yes. Mounting hardware can gradually loosen over time, especially after extended shooting sessions.
Periodically inspect:
- Ring screws
- Base screws
- Rail clamps
- Scope position
Use a torque screwdriver whenever adjustments are needed to avoid uneven pressure.
Routine inspection takes only a few minutes and helps prevent unexpected shifts in zero.
How Can Environmental Conditions Affect Accuracy?
Many shooters blame their scope when environmental conditions are actually responsible for inconsistent groups.
Accuracy can be influenced by:
- Wind speed and direction
- Temperature changes
- Humidity
- Pellet quality
- Shooting position
Testing your PCP air rifle under similar conditions each time helps produce more consistent results and makes it easier to identify equipment-related issues.
Expert Tips for Better Accuracy
Small improvements in technique often produce noticeable gains in accuracy.
Consider these best practices:
- Use high-quality pellets your rifle prefers.
- Shoot from a stable bench whenever possible.
- Clean the barrel according to the manufacturer’s recommendations.
- Maintain consistent trigger control.
- Keep your optic lenses clean.
- Check mounting screws periodically.
- Record your preferred zero distance and pellet type.
- Practice with the same shooting position each session.
Consistency is one of the most important factors in precision shooting.
PCP Air Rifle Scope Setup Checklist
Before heading to the range, use this quick checklist:
| Task | Complete |
|---|---|
| Rifle unloaded and safe | ✔ |
| Correct scope rings installed | ✔ |
| Proper eye relief set | ✔ |
| Reticle leveled | ✔ |
| Ring screws torqued correctly | ✔ |
| Same pellet selected | ✔ |
| Parallax adjusted | ✔ |
| Zero confirmed | ✔ |
Following the same setup process every time helps eliminate variables that can affect accuracy.
Why Choose AirFire Tactical?
At AirFire Tactical, we know that consistent accuracy starts with quality equipment and proper setup. Whether you are selecting your first rifle scope, upgrading your air rifle scope, or looking for dependable mounting accessories, our team can help you choose products that match your shooting goals.
You can also browse our Shop for optics, scope rings, mounts, and shooting accessories designed to help you get the best performance from your PCP air rifle.
Final Thoughts
Learning how to mount and zero a scope on a PCP air rifle is a valuable skill that improves accuracy, consistency, and confidence. Careful installation, proper torque, correct eye relief, and a well-established zero all contribute to better shooting performance.
Remember that your scope, mounting hardware, pellet selection, and shooting technique all work together. Paying attention to each part of the process helps you get the most from your equipment while reducing unnecessary adjustments in the future.
If you are looking for quality optics, mounting accessories, or expert guidance, contact us or explore our Shop to find products that support your next shooting session.
Frequently Asked Questions
How long does it take to zero a PCP air rifle scope?
Most shooters can zero a scope in 20 to 45 minutes, depending on their experience, the quality of the mounting setup, and how many adjustments are needed.
What is the best zero distance for a PCP air rifle?
For many shooters, 25 to 30 yards provides an excellent balance between close-range accuracy and longer-distance performance. However, the ideal distance depends on your shooting style and intended use.
Can I reuse my scope rings when installing a new scope?
Yes, provided the rings are compatible with the new scope’s tube diameter, remain in good condition, and are reinstalled using the proper torque specifications.
Why is my PCP air rifle still inaccurate after zeroing?
Inconsistent groups may be caused by loose scope rings, poor shooting technique, unsuitable pellets, incorrect parallax settings, barrel fouling, or changing environmental conditions. Checking each of these factors can help identify the source of the problem.
How often should I check my scope zero?
It is a good idea to verify your zero after transporting your rifle, changing pellets or optics, replacing mounting hardware, or anytime you notice a change in accuracy. Regular checks help ensure your setup continues to perform consistently.